
How to Replace Trimmer Line Makita Plastic Line
Replacing the Makita plastic trimmer line is one of the easiest maintenance tasks you can perform to keep your string trimmer cutting efficiently. A properly installed trimmer line feeds smoothly, produces cleaner cuts, and reduces unnecessary wear on the spool and trimmer head.
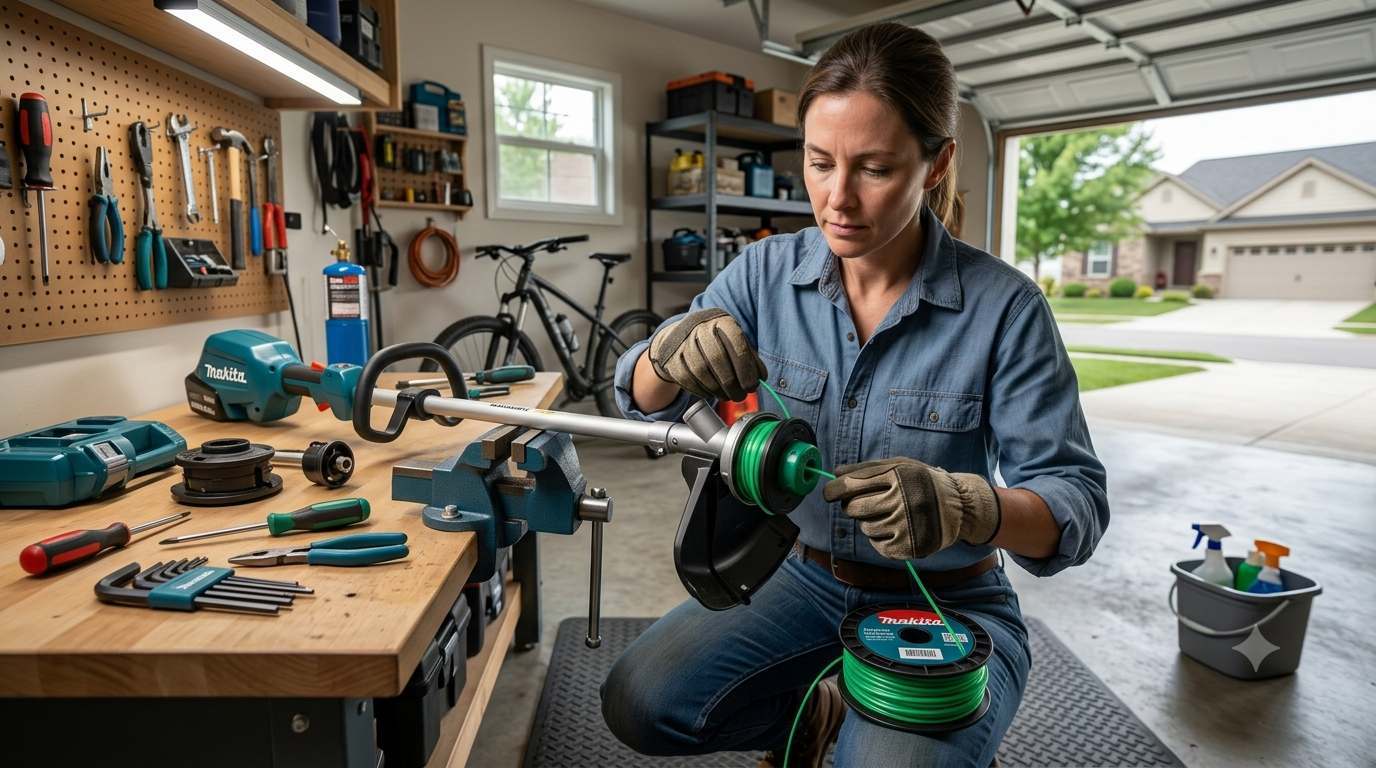
Whether you're replacing a worn line or installing a new spool, following the correct procedure helps prevent tangles, feeding issues, and premature line breakage. This guide explains how to replace trimmer line, Makita plastic line, the common mistakes to avoid, and simple maintenance tips to keep your trimmer performing at its best.
Before Replacing the Trimmer Line
Before opening the trimmer head, take a minute to inspect your equipment. A quick inspection helps ensure the new line feeds properly and allows you to identify worn components that may also need replacement. Before you begin:
- Turn off the trimmer and disconnect the battery or power cord.
- Clean the trimmer head to remove grass, dirt, and debris.
- Confirm you're using the correct Makita plastic line for your trimmer model.
- Inspect the spool and bump knob for cracks or excessive wear.
- Wear work gloves to improve grip and protect your hands.
Spending a few minutes on these checks can help prevent feeding problems after the new line is installed.
Signs It's Time to Replace Your Makita Trimmer Line
Your Makita plastic trimmer line gradually wears down with regular use, especially when trimming around sidewalks, fences, rocks, and other hard surfaces. Recognizing the early signs of wear allows you to replace the line before it affects cutting performance or causes unnecessary strain on the trimmer head.
How to Replace Trimmer Line Makita Plastic Line
Installing a new trimmer line takes only a few minutes when done correctly. Following the proper winding direction and using the recommended line size helps ensure smooth feeding and reliable cutting performance.
Common Mistakes When Replacing a Makita Trimmer Line
Avoiding these common mistakes will help ensure smooth line feeding, cleaner cuts, and longer-lasting performance from your Makita trimmer.
Using the Wrong Trimmer Line Diameter
Installing a line that is too thick or too thin can reduce cutting efficiency, cause poor line feeding, and place unnecessary strain on the trimmer head. Always use the line size recommended for your Makita model.
Winding the Line in the Wrong Direction
The spool is marked with directional arrows for proper winding. Wrapping the line in the opposite direction often causes tangles, uneven feeding, and repeated jams.
Overfilling the Spool
Winding too much plastic line onto the spool can prevent it from rotating freely, leading to line jams and inconsistent feeding during operation.
Ignoring Worn Trimmer Head Components
Replacing only the trimmer line may not solve feeding problems if the spool, bump knob, eyelets, or trimmer head are worn or damaged. Inspect these components each time you install new line.
Final Thoughts
Knowing how to replace Makita plastic trimmer line correctly helps improve cutting performance, prevent line-feeding issues, and extend the life of your trimmer head. By using the recommended line size, following the proper installation steps, and performing routine maintenance, you can keep your Makita trimmer operating efficiently and ready for every job.
If it's time to replace your trimmer line, spool, bump knob, trimmer head, or other Makita replacement parts, explore our selection at Power Tools Parts. Need additional help? Visit our Help Center for expert maintenance guides, troubleshooting tips, and step-by-step repair resources designed to keep your equipment performing at its best.
Recent Posts
-
How to Replace Trimmer Line Makita Plastic Line
Replacing the Makita plastic trimmer line is one of the easiest maintenance tasks you can perform to …Aug 3rd 2026 -

What Scag Mowers Are Commercial and Which Scag Model Is the Best (2025 Guide)
If you’re looking for a true commercial-grade mower, Scag is one of the most recognized brands in t …Dec 8th 2025 -

Removing the Chuck on a Makita 18V Battery Drill
If your Makita 18V battery drill is slipping, wobbling, or not gripping bits correctly, replacing o …Dec 4th 2025